
വാഴ കൂമ്പ് പുഷ്പം മുറിച്ച് വൃത്തിയാക്കാം; ഈ ഒരു സൂത്രം ചെയ്താൽ മതി; ഒറ്റ മിനിറ്റിൽ ആർക്കും ഇനി വാഴക്കൂമ്പ് ക്ലീൻ ചെയ്യാം; ഇതിലും എളുപ്പവഴി വേറെയില്ല..!! | Vazhakoombu Cleaning Easy Tips
Vazhakoombu Cleaning Easy Tips : നമ്മുടെയെല്ലാം വീടുകളിൽ സ്ഥിരമായി ഉണ്ടാക്കാറുള്ള വിഭവങ്ങളിൽ ഒന്നായിരിക്കും വാഴക്കൂമ്പ് തോരൻ. വീട്ടിൽ ഒരു വാഴ എങ്കിലും നട്ടുപിടിപ്പിക്കുകയാണെങ്കിൽ അതിന്റെ മിക്ക ഭാഗങ്ങളും ഇത്തരത്തിൽ കറി ഉണ്ടാക്കാനോ, തോരനോ ഒക്കെ ഉപയോഗപ്പെടുത്താനായി സാധിക്കും. കാരണം വാഴക്കൂമ്പ് പോലുള്ള വാഴയുടെ ഭാഗങ്ങളിൽ അടങ്ങിയിരിക്കുന്ന ഔഷധഗുണങ്ങൾ ഏറെയാണ്. എന്നാൽ വാഴക്കൂമ്പ് വാങ്ങി
കഴിഞ്ഞാൽ പ്രധാനമായും ഉണ്ടാകുന്ന ഒരു പ്രശ്നമാണ് അത് വൃത്തിയാക്കി എടുക്കാനുള്ള ബുദ്ധിമുട്ട്. വളരെ എളുപ്പത്തിൽ വാഴക്കൂമ്പ് എങ്ങനെ ക്ലീൻ ചെയ്തെടുക്കാൻ സാധിക്കുമെന്ന് വിശദമായി മനസ്സിലാക്കാം. വാഴക്കൂമ്പിന്റെ ഏറ്റവും പുറത്ത് കാണുന്ന രണ്ട് ലയറുകൾ മിക്കപ്പോഴും കളയേണ്ടി വരാറുണ്ട്. കാരണം കൂടുതൽ മൂത്ത ഭാഗം തോരനിൽ ഉൾപ്പെടുത്തിയാൽ അത് കയ്ക്കാൻ ഇടയാക്കിയേക്കാം. വാഴക്കൂമ്പിന്റെ
പുറം പോളകൾ കളഞ്ഞശേഷം അതിനെ നെടുകെ രണ്ടായി മുറിക്കുക. അതുപോലെ മുകളിൽ തണ്ടിന്റെ ഭാഗം ഉണ്ടെങ്കിൽ അതും മുറിച്ചു കളയാനായി പ്രത്യേകം ശ്രദ്ധിക്കണം. രണ്ടായി മുറിച്ചെടുത്ത വാഴക്കൂമ്പിന്റെ നടുക്ക് ഭാഗം മാത്രമായി ചെത്തിയെടുക്കുക. ഇത്തരത്തിൽ രണ്ട് ഭാഗവും വൃത്തിയാക്കി എടുക്കണം. ശേഷം കത്തി ഉപയോഗിച്ച് വാഴക്കൂമ്പിനെ ചെറിയ കഷണങ്ങളായി എളുപ്പത്തിൽ കൊത്തിയരിഞ്ഞ് എടുക്കാനായി സാധിക്കും. അരിഞ്ഞെടുത്ത വാഴക്കുമ്പ് വെള്ളവും തൈരും ചേർത്ത് അതിലോ, അല്ലെങ്കിൽ അല്പനേരം Vazhakoombu Cleaning Easy Tips credit : KRISTELL INFO
🍃 Vazhakoombu Cleaning – Easy Tips
🛒 You’ll Need:
- A bowl of water
- A few tablespoons of buttermilk or a bit of turmeric (to prevent darkening)
- Banana flower
- A bit of oil (optional, for your hands)
🔪 Step-by-Step Cleaning Guide:
1. Prepare Anti-Discoloration Water
- Mix buttermilk or turmeric in a bowl of water.
- This is where you’ll keep the cleaned pieces to prevent them from turning black.
2. Oil Your Hands (Optional)
- The sap from vazhakoombu can stain your hands dark brown.
- Rub a few drops of coconut oil on your palms and fingertips to avoid staining.
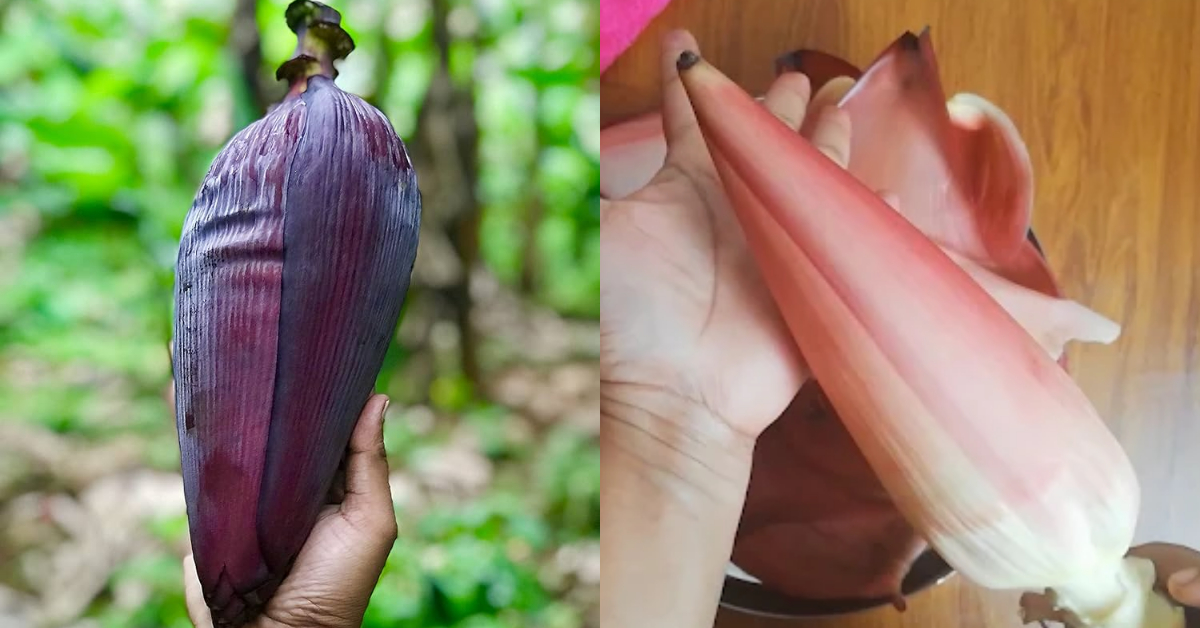
3. Remove Outer Purple Bracts (Petals)
- Start peeling off the large, tough, purple petals.
- As you peel each one, you’ll find a row of small, creamy-white florets inside — these are what we clean and use.
4. Clean the Florets
Each floret has two inedible parts:
- Kaalan (hard stick-like stem)
- Thol or pistil (thin transparent cover)
Remove both. It’s a quick pinch-pull motion once you get used to it.
⚡ Tip: Don’t worry about making it perfect — even if a few florets have the pistil or stick left, it’s not harmful; it just affects texture slightly.
5. Finely Chop the Cleaned Florets
- Once florets are cleaned, you can chop them finely (or as your recipe requires).
- Immediately transfer chopped vazhakoombu into the turmeric or buttermilk water.
🧊 Extra Tips:
- Work in small batches: Clean 5–10 florets at a time to avoid drying or darkening.
- Use gloves: If you have sensitive skin or want to avoid staining entirely.
- Don’t discard the tender inner core: Once you reach the small cone-like white part (inner core), you can chop and use it whole without separating florets.
🥘 Once Cleaned, Use It In:
- Vazhakoombu Thoran (with coconut)
- Vazhakoombu Parippu Curry
- Vazhakoombu Cutlet
- Banana Flower Stir-fry with coconut oil & shallots
Comments are closed.