
വീട്ടിലെ പൈപ്പിൽ നിന്നും വെള്ളം തുള്ളി തുള്ളിയായി വീഴുന്നുണ്ടോ; എന്നാൽ എളുപ്പം ശരിയാക്കാൻ ഇതാ ഒരു വഴി; ഇനി പ്ലമ്പറുടെ ആവശ്യമില്ല; പൈസ ചിലവും ഇല്ല; വെറും ഒറ്റ മിനിറ്റിൽ ശരിയാക്കാം.!! | Simple Trick To Repair Water Tap
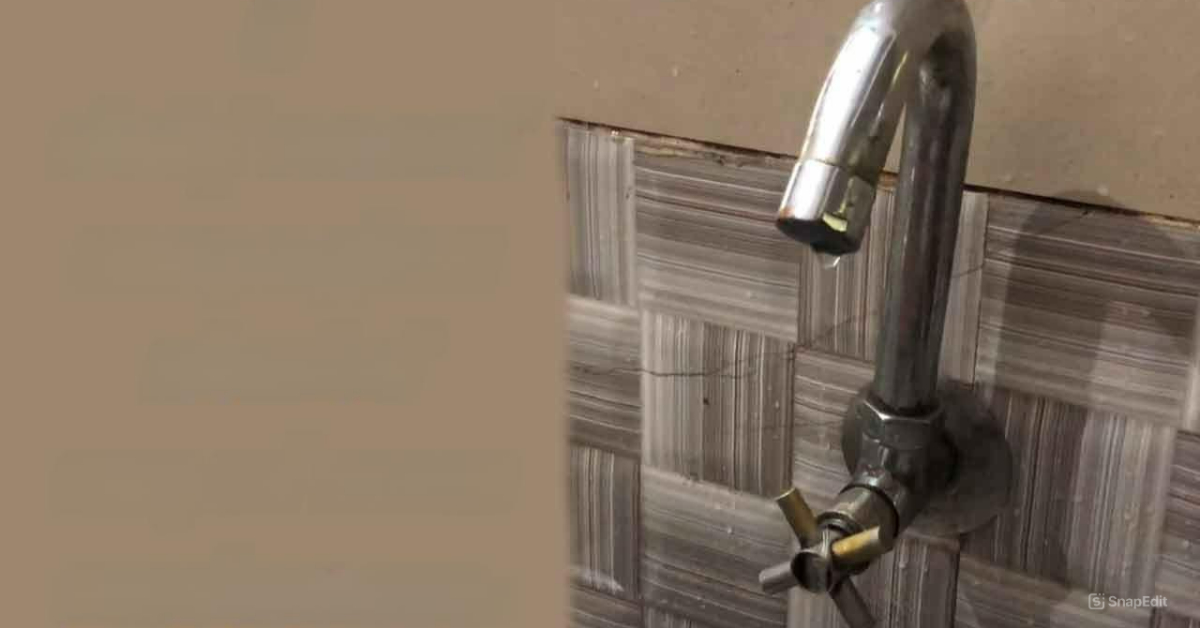
Simple Trick To Repair Water Tap : പല വീടുകളിലും ഇടയ്ക്ക് ഉണ്ടാവുന്ന ഒരു പ്രശ്നമാണ് ടാപ് കേടാവുന്നത്. ഒരു പ്ലമ്പറെ വിളിച്ചാൽ പെട്ടെന്ന് വരണമെന്നുമില്ല. ടാപ്പിൽ നിന്നും വെള്ളം കളയുന്നത് വളരെ അധികം അലോസരം ഉണ്ടാക്കുന്ന ഒരു കാര്യമാണ്. അതിനുള്ള പരിഹാരമാണ് ഈ വീഡിയോ. ആദ്യം തന്നെ വീടിന്റെ പുറത്തുള്ള മെയിൻ വാൽവ് ഓഫ് ചെയ്യുക. പൈപ്പിന്റെ മുകളിലെ ചെറിയ ഗ്യാപ് അഴിച്ചിട്ടു ഏറ്റവും ചെറിയതായ 1.5 യുടെ എൽ ആൻകി
( L Anki ) ഉപയോഗിച്ച് ആ ഭാഗം അഴിച്ചെടുക്കുക. അതിന് ശേഷം ഒരു കട്ടിങ് പ്ലെയർ ഉപയോഗിച്ച് മുകളിലെ സ്ക്രൂ പോലെയുള്ള സാധനം ലൂസ് ചെയ്യണം. ഡിസ്ക് സ്പിൻറ്റൽ എന്നാണ് ആ കാണുന്ന സ്ക്രൂ പോലെയുള്ള സംഭവത്തിന്റെ പേര്. സിങ്ക് ടാപ്, ആംഗിൾ വാൽവ്, വാഷ് ബേസിൻ ടാപ്, പഴയ തരം ടാപ്പിലും ഈ ഒരു സാധനം മാത്രമേ ചീത്തയാവുകയുള്ളൂ. അപ്പോൾ ഇത് മാറ്റി ഇടുക എന്നതാണ് നമ്മൾ ചെയ്യേണ്ടത്.
ഇത് കടയിൽ നിന്നും വാങ്ങിക്കാൻ കിട്ടുന്ന ഒന്നാണ്. ഇത് പഴയ സ്പിന്റൽ ഊരിയ ഭാഗത്തേക്ക് ഇട്ടു കൊടുത്തിട്ട് കട്ടിങ് പ്ലേയർ അല്ലെങ്കിൽ സ്പാനർ ഉപയോഗിച്ച് നല്ലത് പോലെ മുറുക്കി കൊടുക്കണം.അതിന് ശേഷം നമ്മൾ നേരത്തെ ഊരി വച്ച ടാപ്പിന്റെ മുകൾ ഭാഗം തിരികെ വയ്ക്കണം. ഇതിനായി നേരത്തെ ഉപയോഗിച്ച 1. 5 എൽ ആൻകി ഉപയോഗിച്ച് മുറുക്കാൻ സാധിക്കും. മെയിൻ വാൽവ് ഓൺ ചെയ്തിട്ട് ടാപ് തുറന്നു നോക്കാം.
ഇനി മുതൽ വീട്ടിലെ ടാപ് കേടാവുമ്പോൾ ആരെയും ആശ്രയിക്കാതെ നമുക്ക് തന്നെ അതെ ശരിയാക്കാം. ഇതിനോടൊപ്പമുള്ള വീഡിയോയിൽ ഒരു സാധനത്തെ പറ്റിയും വിശദമായി തന്നെ പറയുന്നുണ്ട്. വിഡിയോ മുഴുവനായി കണ്ടു നോക്കൂ. ത്ഹർച്ചയായും ഉപകാരപ്പെടും. ഇഷ്ടമായാൽ ലൈക് ചെയ്യാനും ഷെയർ ചെയ്യാനും മറക്കല്ലേ.. Simple Trick To Repair Water Tap credit : EL TECH
Simple Trick to Fix a Leaking Tap
Here’s a simple trick to repair a leaking or dripping water tap (faucet), especially if it’s a compression-type tap (the kind you twist to turn on/off):
1. Turn Off the Water Supply
- Locate the shut-off valve under the sink or turn off the main water supply.
- Open the tap fully to release any remaining water.
2. Plug the Drain
- Use a sink plug or a cloth to cover the drain. This prevents small parts from falling in.
3. Remove the Tap Handle
- Use a screwdriver to remove the handle (you may need to pop off a decorative cap).
4. Tighten the Packing Nut
- Use a wrench to gently tighten the packing nut (just below the handle).
- This often stops minor leaks around the handle area.
- Don’t overtighten — just a snug fit.
5. Replace the Washer (if still leaking)
- Unscrew the tap body and remove the old rubber washer at the base.
- Take it to a hardware store to get an exact match.
- Install the new washer and reassemble the tap.
6. Turn the Water Back On & Test
- Slowly open the water supply and check if the leak is fixed.
Bonus Tip:
If the tap still drips after washer replacement, the valve seat may be worn. A valve seat grinder (inexpensive tool) can resurface it quickly.
Let me know if your tap is a different type (like ceramic disc or ball tap), and I can give you a trick specific to that one.
Comments are closed.